Commanding Your Nebula VPN Mesh Networks
Nebula Commander is a self-hosted control plane for Nebula overlay networks. You run the server yourself. It doesn't replace Nebula; it sits in front of it.

If you've been running Nebula for a while, you know how solid it is for overlay networking. The catch is that managing more than a handful of nodes by hand gets old fast. Certificates, configs, IP allocation, firewall groups: it all adds up. Nebula Commander is a self-hosted control plane that gives you a central place to run all of that from a web UI (and an optional device client), without handing your network over to someone else's cloud.
I'm going to walk through what it is, why you might want it, and how to get it running.
What is Nebula Commander?
Nebula Commander is a self-hosted control plane for Nebula overlay networks. You run the server yourself. It doesn't replace Nebula; it sits in front of it. You use Commander to create networks, add nodes, hand out IPs, issue or sign certificates, and define group-based firewall rules. The actual overlay traffic still runs on Nebula. Commander is the place you go to manage who's on the network and what they can do.
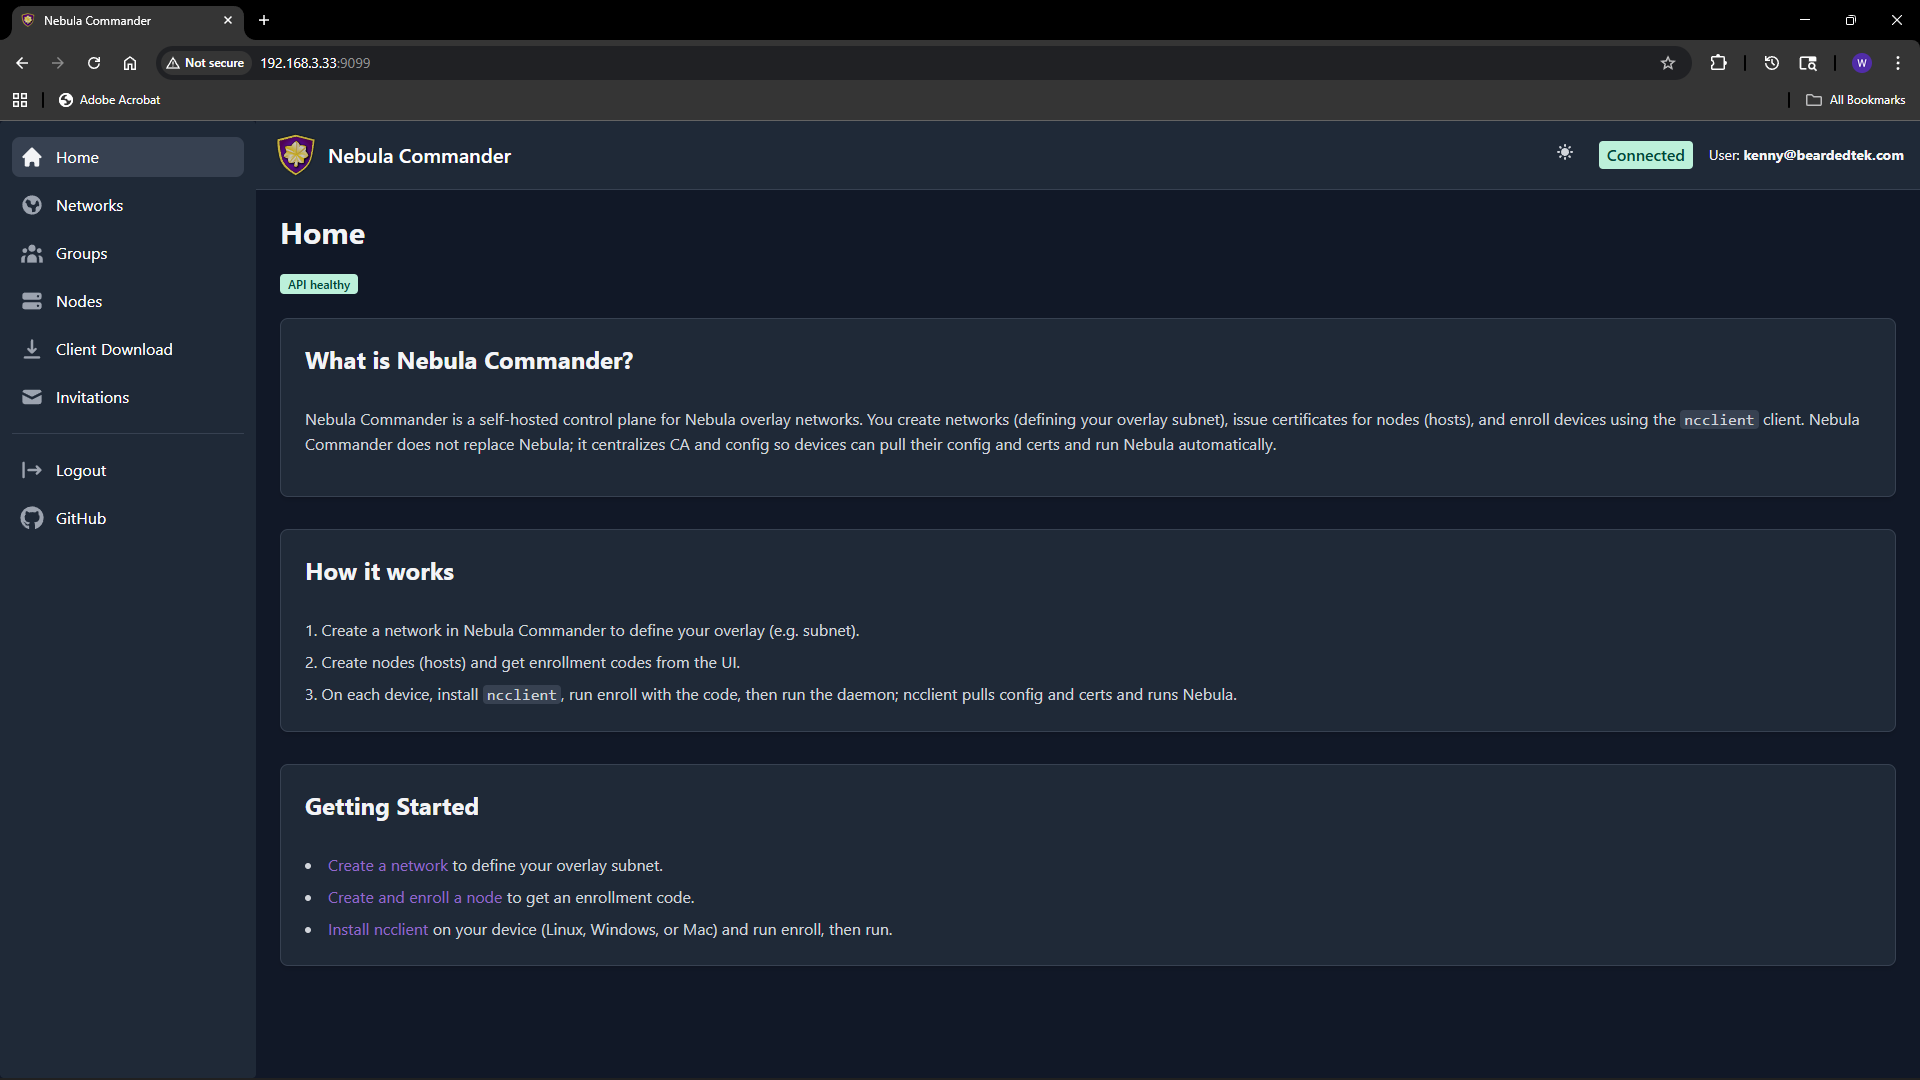
Under the hood you get a Python/FastAPI backend (REST API, SQLite, certificate storage), a React web UI for day-to-day management, and an optional device client called ncclient that can enroll with a one-time code and then poll for config and certs and run or restart Nebula when things change. For auth you can plug in OIDC (e.g. Keycloak) or, in development, use a dev token. Backend and frontend are MIT; the client is GPLv3+. The docs and downloads live at nebulacdr.com, and the code is at github.com/NixRTR/nebula-commander.
Why use it?
You keep everything on your own infrastructure. No SaaS, no sending your topology or certs to a third party. Run it in Docker, on NixOS, or from a venv for development.
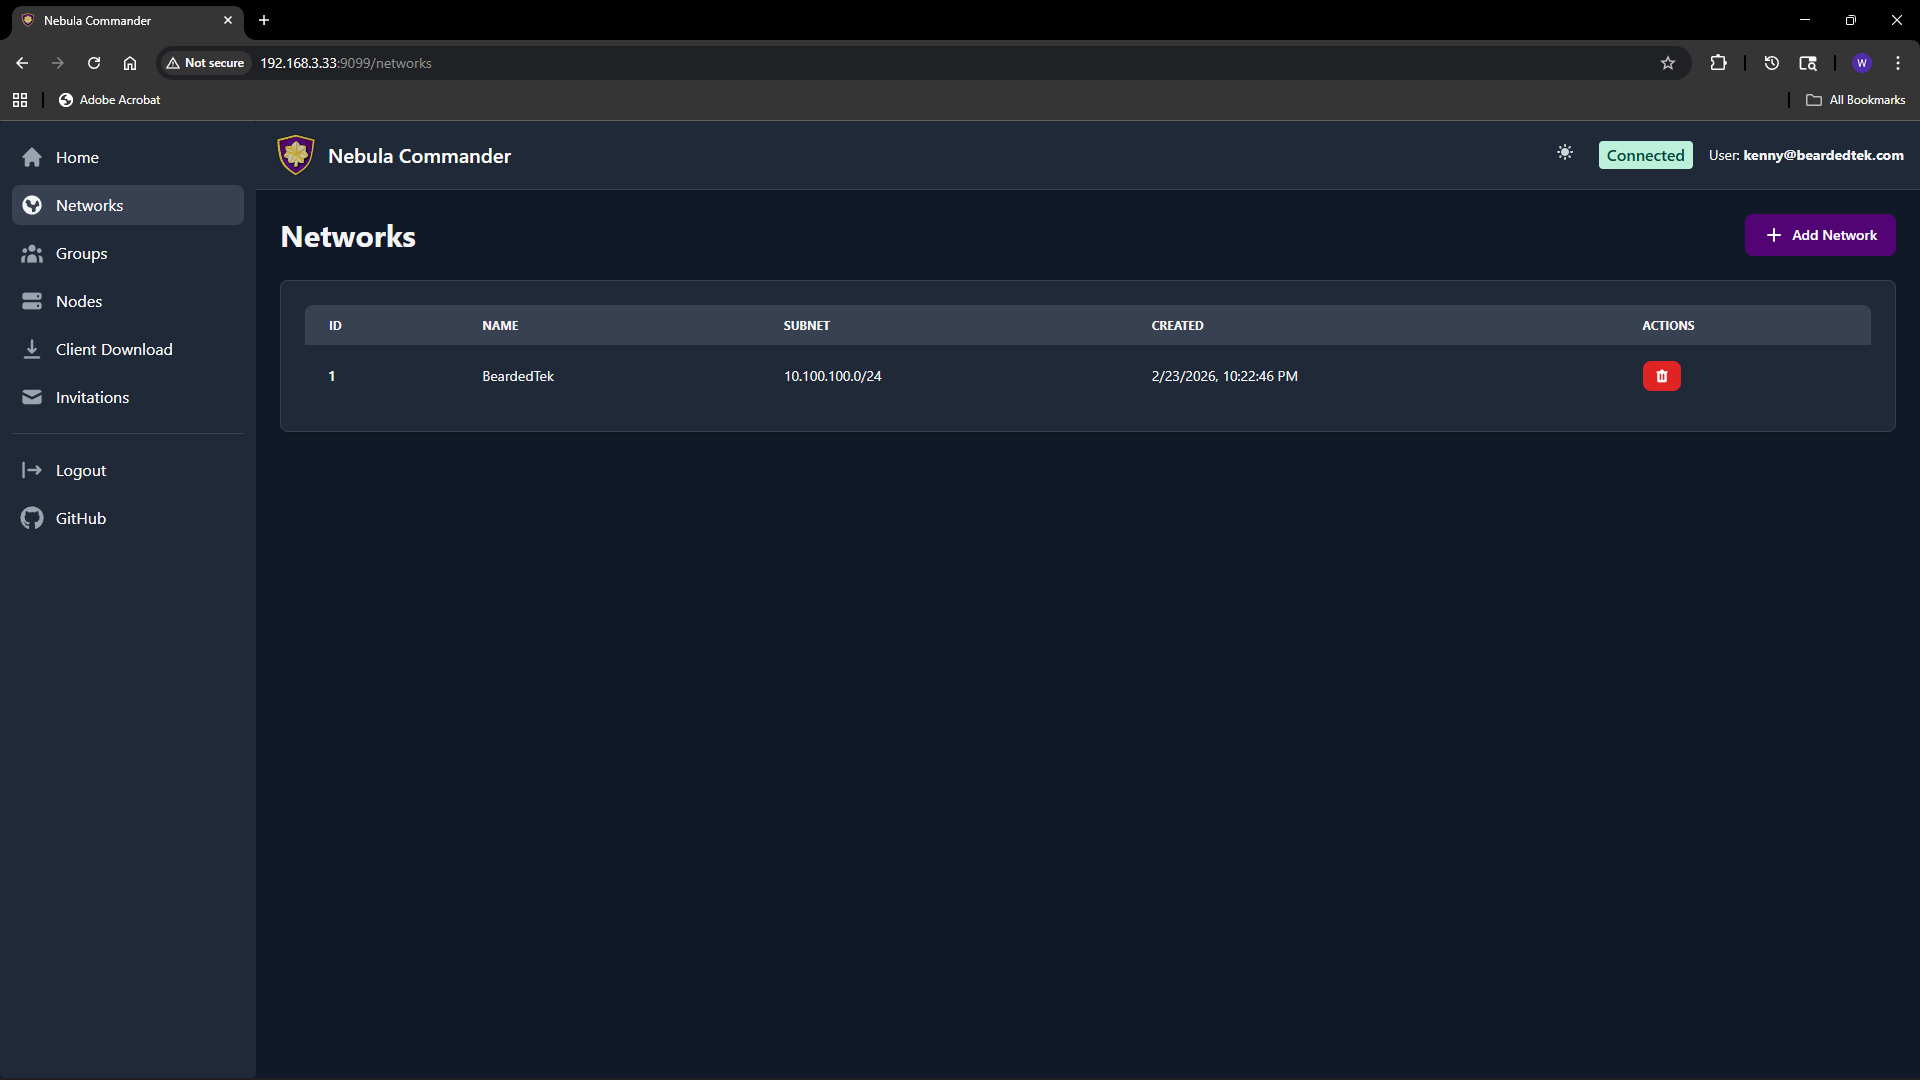
One place for networks, nodes, and certs. Create a network with a subnet, add nodes, assign IPs and groups, and either have the server generate host certs or sign CSRs you generate on the device. The UI handles the flows; you're not juggling YAML and nebula-cert by hand.
Group-based firewall rules. You define groups (e.g. laptops, servers, IoT) and set inbound rules per group in the UI. Nodes get assigned to groups; Nebula's config is generated so the right rules apply. Fine-grained access without editing configs on every node.
Optional device client (ncclient). For fleets or edge devices you can use ncclient: enroll once with a code from the UI, then it polls the server for config and certs and can run or restart Nebula when something changes. It's still marked experimental; for production-style setups the docs recommend using the Web UI and API to manage everything and then deploy config and certs manually and run Nebula yourself until ncclient stabilizes.
Fits into how you already run things. Docker is the recommended path: pre-built images for backend, frontend, and optionally Keycloak. There's also a NixOS module so you can run it as a service. Either way you can put Nginx, Traefik, or Caddy in front for HTTPS and HSTS.
So: if you like Nebula but want a central dashboard, cert issuance, and group firewall management without maintaining a pile of config by hand, Commander is built for that.
How to get it
You need Nebula on the devices that will join your networks; Commander only issues certs and config. You also need a machine or container to run the stack either via docker or NixOS. The rest is wiring.
Docker (recommended)
The fastest way is Docker. You need docker-compose.yml, the Keycloak override if you want OIDC, .env.example, and the env.d.example/ directory (backend and Keycloak env files). You can pull those with curl or use the project's download script.
In an empty directory:
BASE_URL="https://raw.githubusercontent.com/NixRTR/nebula-commander/main/docker"

curl -sSL -o docker-compose.yml "${BASE_URL}/docker-compose.yml"
curl -sSL -o docker-compose-keycloak.yml "${BASE_URL}/docker-compose-keycloak.yml"
curl -sSL -o .env.example "${BASE_URL}/.env.example"

mkdir -p env.d.example/keycloak
curl -sSL -o env.d.example/backend "${BASE_URL}/env.d.example/backend"
curl -sSL -o env.d.example/keycloak/keycloak "${BASE_URL}/env.d.example/keycloak/keycloak"
curl -sSL -o env.d.example/keycloak/postgresql "${BASE_URL}/env.d.example/keycloak/postgresql"
Create the network, copy env files into place, and edit env.d/backend (JWT secret, database path, OIDC if you use Keycloak, etc.):
docker network create nebula-commander
cp .env.example .env
cp -r env.d.example env.d
# Edit env.d/backend (JWT secret, OIDC, CORS, etc.)
Then:
docker compose pull
docker compose up -d
If you want Keycloak for login:
docker compose -f docker-compose.yml -f docker-compose-keycloak.yml up -d
The app is at http://localhost (or whatever port you set in .env). Full details, including all env vars and reverse-proxy notes, are in the Docker installation docs.
NixOS
If you're on NixOS you can add the Nebula Commander module and enable the service. Clone the repo (or point at a path that has both nix/ and backend/), then in your config:
{
  imports = [
    /etc/nixos/nebula-commander/nix/module.nix
  ];

  services.nebula-commander.enable = true;
}
You can override backend port, database path, cert store path, JWT secret file, and debug flag. For OIDC and other backend options you extend the service environment with the usual NEBULA_COMMANDER_* variables. See the NixOS installation docs for options and flake-based setup when available.
After install
-
Configure – Set
NEBULA_COMMANDER_PUBLIC_URL, JWT secret (e.g.openssl rand -base64 32), and if you use OIDC the issuer URL, client id, and secret. Configuration and environment and OIDC cover everything. -
Create a network – In the Web UI, open Networks, click Add Network, give it a name and a subnet CIDR (e.g.
10.100.0.0/24). That's your pool for node IPs.
- Add nodes – Under Nodes, add a node (hostname, group, optional lighthouse/relay and endpoint). Then create or sign a certificate for it. With "Create" the server generates the key and cert; with "Sign" you keep the key on the device and the server only signs. You can also generate an enrollment code for ncclient.

- Groups and firewall – Define groups and inbound rules in the Groups section. Assign nodes to groups; the generated Nebula config applies the right rules.
From there you either deploy the generated config and certs to your nodes and run Nebula yourself, or use ncclient where it fits. The Web UI docs walk through networks, groups, nodes, client download, and invitations.
Where to go from here
- Docs – nebulacdr.com/docs for getting started, installation, configuration, Web UI, and client usage.
- Code and issues – github.com/NixRTR/nebula-commander. The development section covers local setup, manual builds, and the API.
- Chat – Nebula Commander Matrix Space for discussion and support.
Nebula Commander is still in early development, but the core is there: create networks, manage nodes, issue certs, and define firewall groups from a single place. If you've been wanting a homelab or team overlay without hand-rolling every node, it's worth a look.